
Step-By-Step: Preparing Your Surface For Concrete Painting
Want to refresh your concrete floor or wall? No matter if it’s at the front of your house or hidden away in your garage, concrete has a way of getting dirty and stained. Whether it’s oil from your car, stains from pot plants or just a build-up of dirt, dust and grime, it doesn’t take much for your bare concrete to look a little shabby.
One of the best ways to refresh the look of your concrete is to paint it! But there’s more to painting concrete than just slapping on a layer of acrylic and calling it a day. Painting concrete is all about the preparation – indeed, how well you prepare your concrete will dictate how well your paint adheres, how good it looks, and how long it will last.
There are several steps you need to take to prepare your concrete surface for painting – follow our step-by-step process to make sure your freshly painted concrete is always looking its best!
But First!
Before we start with the painting prep, we need to make sure it’s actually okay to paint your concrete. Here, you’ll need to check if there is any moisture sitting on the surface of your concrete. If you want a precise answer, you can purchase a special moisture test. Otherwise, tape a piece of foil or a plastic bag to the concrete and check it after 24 hours for condensation – if there is any, your concrete is too wet to paint.
If this is the case, you’ll either need to get your concrete professionally restored or use special products designed for use on concrete with excess moisture.
If your concrete is dry, then it’s time to proceed. Follow these instructions to enjoy professional-looking results when you’ve finished painting your concrete!
What You Need To Prepare Your Concrete For Painting
Here are the supplies you’ll need to prepare and paint your concrete floors or walls.
- High-pressure washer or stiff-bristled broom
- Concrete degreaser
- Concrete filler or patching
- Medium or fine-grit sandpaper
- Painter’s tape
- Acid etching solution
- Gloves
- Mask
- Medium paintbrush and roller
- Concrete paint
Now that you have everything you need to prepare your concrete for painting, let’s start the process.
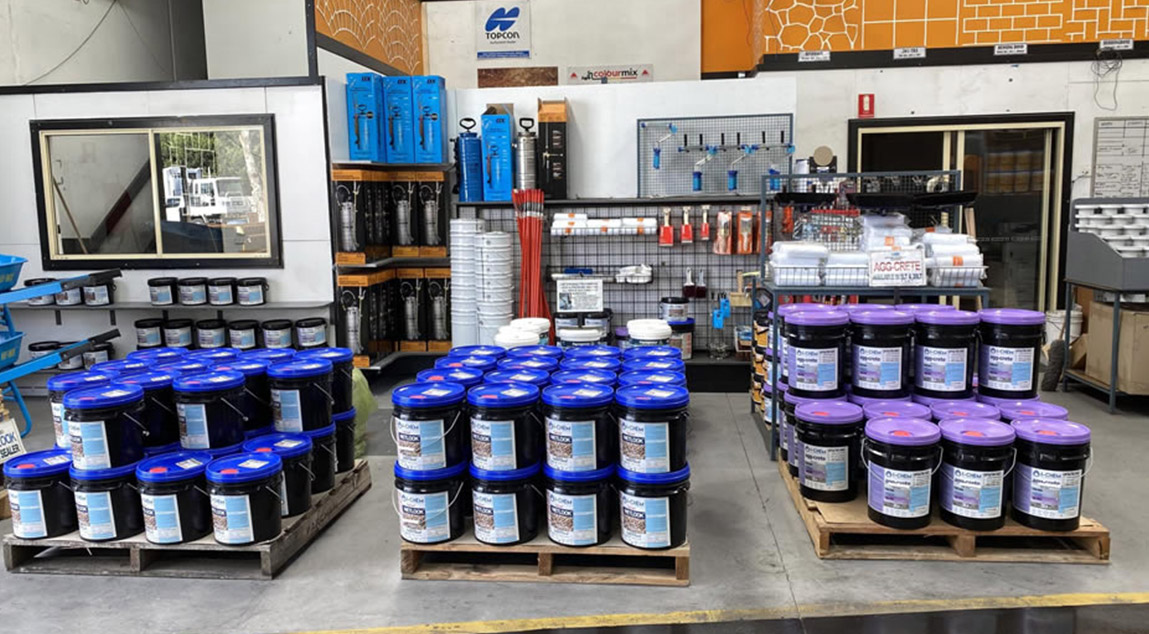
You can find everything you need for concrete-related projects at Australian Slate Crete Supplies, including specialty acids and cleaning chemicals.
Step 1: Clean Your Concrete
If your concrete has any old paint or sealants on it, strip these off with a wire brush or scraping tool. Next, remove any dirt, debris or plant growth from your concrete.
Start by sweeping or vacuuming your concrete to get all the easy-to-dislodge bits out of the way. For stubborn dirt, you’ll need to use water. A high-pressure hose or power washer is great if you have room to use it, but make sure the pressure isn’t too great, or it may damage your concrete.
You can also spray down your concrete with clean water and use a stiff-bristled broom to work the water in and dislodge any debris. Push the dirty water off the concrete and let it dry naturally.
Grease and oil stains will not be easy to remove, especially not with water alone. If you have them, grease stains can be removed using a special degreaser. Make sure to read the instructions on your degreaser carefully before applying it to your concrete.
Step 2: Fill In Any Cracks And Flatten Bumps
During this next step, you need to create a whole, smooth concrete surface before painting. That means filling in cracks and sanding down bumps, as well as any jagged edges that can make the surface uneven.
You can use a concrete patching material to fill in any cracks. Once it has hardened, sand it down your concrete filler using medium or fine-grit sandpaper. You can also use sandpaper to smooth any rough spots that may have formed in your concrete over the years. Make sure to wear a high-quality mask when sanding, as the dust from concrete can be harmful to breathe in.
Step 3: Tape The Edges
Apply painter’s tape around the edge of your concrete so you don’t end up accidentally getting paint where you don’t want it. Concrete paint won’t look good on your walls, so apply a good, thick width of tape all around the perimeter of the concrete, then make sure it is fully adhered on all sides.
You may like to test how your walls will react to painter’s tape, as very old or poor-quality dried paint may come off when the tape is removed. Before you start painting your concrete, place a small piece of tape somewhere out of sight on your wall, leave it for a few days and then remove it to see if the wall is damaged. If it is, you may need to use a gentler, less-sticky painter’s tape.
Step 4: Apply Etching
Prime the surface of your concrete by etching it. ‘Etching’ refers to using an application of liquid acid to make the porous surface of the concrete open up, which is a crucial step when painting concrete. This makes it perfectly primed to absorb and hold onto whatever comes next – which in this case will be a layer of paint.
Make sure to wear protective equipment like gloves and mask when applying etching, as this chemical can be very hazardous. Check the brand of your etching solution to see how long the product needs to sit for the etching to be complete. Finally, hose it off and let the concrete air dry.
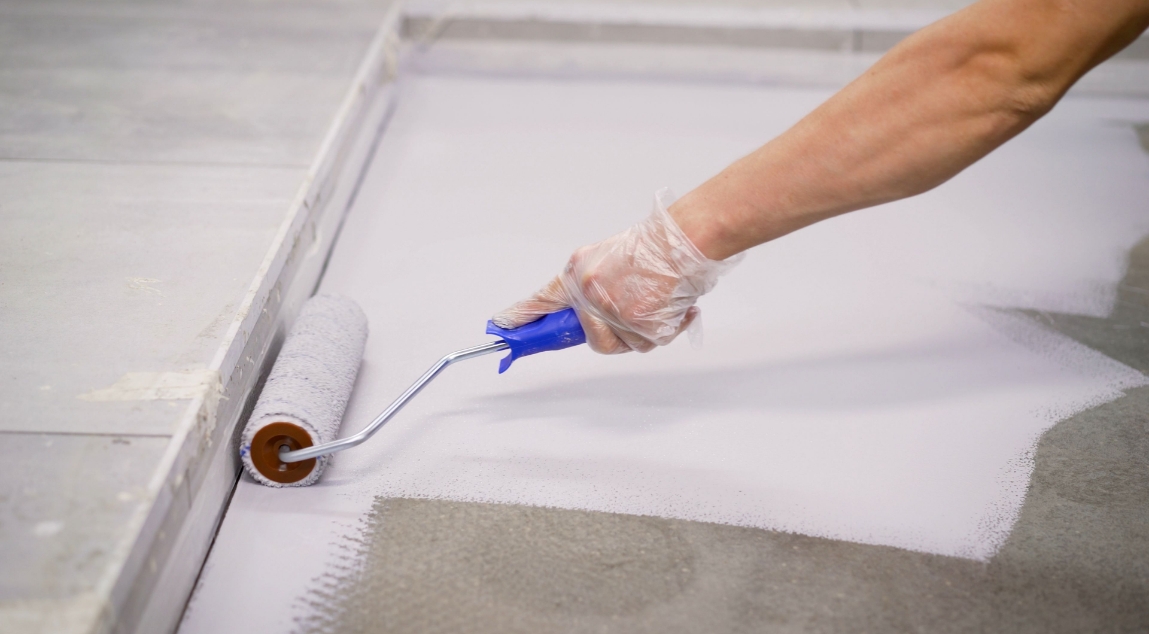
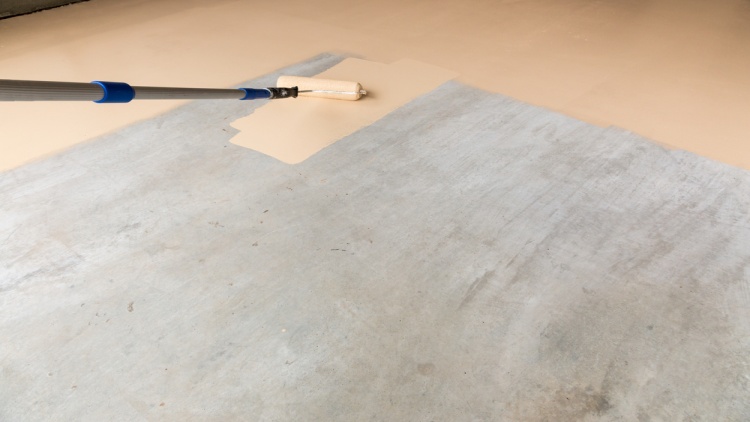
Step 5: Apply The Paint
Make sure the type of paint you are using is designed for use on concrete and can stand up to a bit of wear and tear. Mix the paint thoroughly, then use a medium-sized straight paint brush to apply it around the edges of your masking tape. Then use a paint roller brush to apply it to the rest of the concrete. If you are painting a floor, make sure not to paint yourself into a corner!
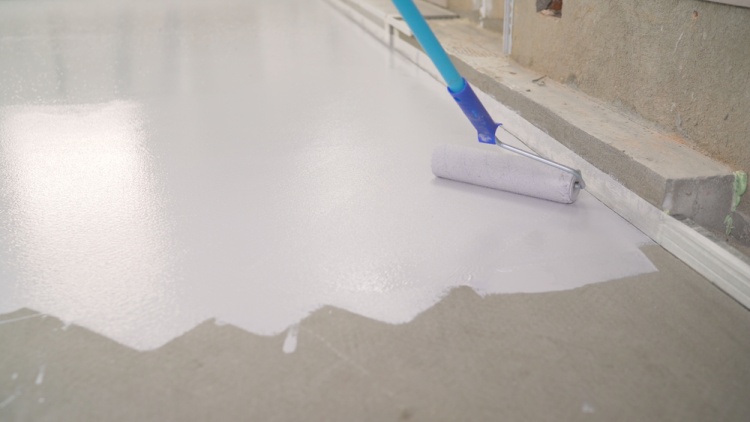
Once this first coat of paint has dried and you have removed any potential lumps and bumps that have formed, firmly apply a top layer of paint in the opposite direction to the first paint coat using your paint roller. This will ensure full coverage and professional-looking results for your newly painted concrete.
Step 6: Remove The Painter’s Tape
Once the concrete is dry, remove the painter’s tape. You should have a lovely, clean line of paint afterwards! Make sure not to leave your painter’s tape in place too long, as it may mark or damage the surface it is stuck to if it’s forgotten about.
Discover a wide range of concrete paints at Australian Slate-Crete Supplies, your go-to destination for concrete paint supplies in Melbourne and across Australia.
Discover Quality Concrete Paint Supplies In Melbourne At Australian Slate-Crete Supplies
Preparing any concrete surface for painting requires a fair bit of effort – but the result will be a long-lasting and professional-looking surface you’ll love looking at every day. With a wide range of colours to choose from, you can really transform any concrete surface with the right application of paint.
Australian Slate-Crete Supplies is proud to be an industry leader in concrete paint and one of the leading concrete colour suppliers in Melbourne. With a wide variety of shades to choose from, as well as paints with attributes like hardening and sealing, it’s easy to find the perfect concrete paint here. Contact us online or at 03 9408 7722 if you’d like more advice on how to prepare your concrete surface for painting.
-
 February 4, 2022Sandstone Concrete Stencil
Do you want to add a touch of luxury and elegance to your concrete projects? If so, then consider using sandstone concrete stencils!
Read More -
 February 4, 2022Gloss Brick Sealer
Gloss brick sealer is a wonderful material for adding a brilliant shine to your brick slip wall feature.
Read More -
 February 4, 2022Bluestone Concrete Sealer
In a broad sense, the term “bluestone” is sometimes used to refer to a variety of stones. It’s a marketing term rather than a geological one.
Read More