
How to Prepare a Garage Floor for Epoxy or Paint: Surface Prep Checklist
Giving your garage floor a facelift is a great idea. It is also a task that needs some serious preparation so the epoxy floor you lay down, or the paint job that you give it, sticks and stays and won’t wear away prematurely. You want to prepare your garage floor properly so the floor work you do grips the floor, seals nicely and will end up being a beautiful upgrade to what you have now.
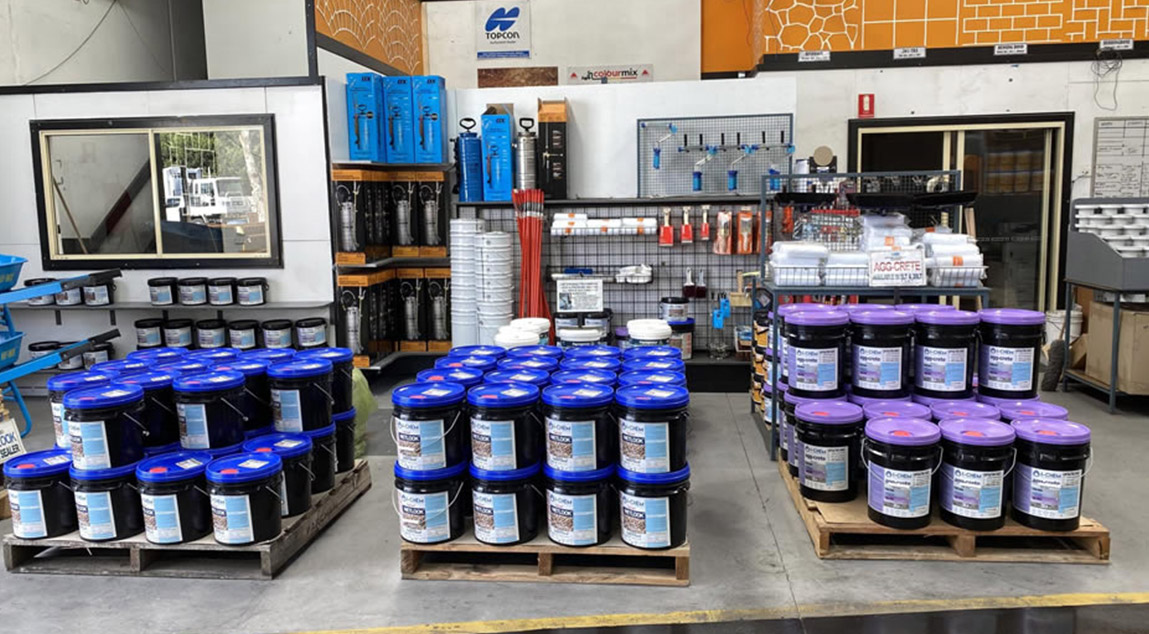
In this guide, we’ll explain the steps needed to prepare your floor for either a coat of paint or an epoxy resin floor. The team here at Australian Slate-crete supplies can hook you up with all the solvents and materials you need to do a first class job. Call us on 03 9408 7722 for tips and advice on the best way to prepare your garage floor, and the best materials to do it with.
Why Do You Need to Prepare the Floor for an Epoxy Floor?
Laying down a new coat of paint, or broadcasting an epoxy flake floor is a great way to upgrade your garage. Turn something that can be dirty and grungy into a sophisticated workshop that is easy to clean and maintain.
However, you don’t want to install this new floor onto a surface that is dirty or stained with grease. You also don’t want an uneven surface as that will lead to a bumpy finish when you’re done. Similarly, you don’t want a floor that is too smooth as that won’t grip and hold the paint or epoxy that you’re laying down, and you can end up with inconsistencies, dark patches, in your final product.
This is why it is important to prepare your garage floor. You don’t want to invest so much time, effort and money into a project, just to end up with a lumpy floor or something that looks stained and ugly.
Checklist to Prepare your Garage Floor
Step 1. Clear and Clean the Area
Arguably the most important step in the process of preparing your garage. You need the whole floor clear of any dirt or detritus before application, otherwise it will become part of the new floor.
Clear the space you’re going to be working in. Remove all furniture, shelving, containers, everything. You need to have the garage utterly empty of anything. This not only makes the job of installation easier, it also protects your stuff from paint, or any residue from splashed epoxy.
Step 2. Sweep and Vacuum
Start with a broom and brush away any loose dirt and rubbish. Get right into the corners and brush it all out. Bag up the rubbish as well, so it doesn’t have a chance to blow back in while you’re not watching.
Follow up with a good solid vacuuming. Take your time with the vacuum. You want to remove all the loose dirt and dust from the floor so it won’t negatively affect your new flooring when it is put down.
If the surface is very soiled, a pressure wash may be better in this situation, but will need to be done again after acid washing.
Step 3. Degrease Stains
It’s likely that if you’ve had cars in your garage there are grease and oil stains on the ground. You need these gone before you lay down your new floor. Not only are they an eyesore, but they will absolutely mess up your paint, or epoxy, as you try to lay it down.
Wash the floor with a mild detergent, and a cleanser to remove grease and oil stains. A stiff broom can be handy to scrape up stubborn stains.
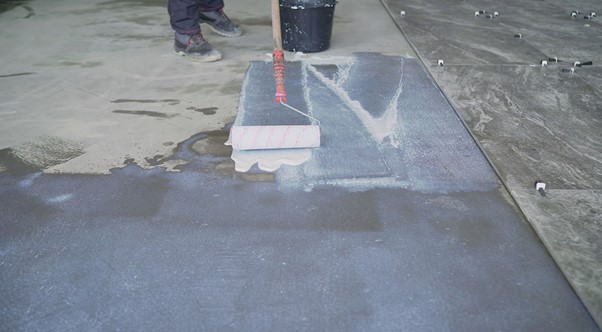
Step 4. Etching
Paint and epoxy need a rough surface to grip to.
Apply a concrete etcher which is a diluted acid, with a plastic watering can. Agitate the acid with a soft brush until bubbling ceases and then rinse well as per the product instructions. Contact Australian Slate Crete for a full set of instructions for acid washing.
Step 5. Thoroughly Wash and Dry the Floor
Using a high pressure washer, wash the entire floor. This removes residue from the cleaning products and can dislodge the last remaining stubborn dirt.
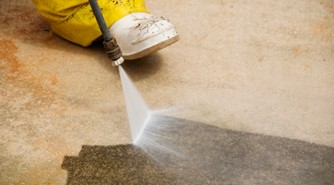
The floor needs to be thoroughly dry before you can go to the next step, so allow time to dry overnight.
Read this one: Concrete Paint or Epoxy Coating for Garage Floors: Which Is Better?
Step 6. Repair any Damage
Inspect the floor carefully for cracks or other damage. When you find a crack, you can open them up slightly with an angle grinder before filling the holes with concrete patcher/filler. Smooth with a putty knife or trowel and let it cure.
This will make your floor dirty again, so repeat steps 2 & 4 to clear the area once again.
Step 7. Check the Level of the Floor
Using a spirit level, or other method, you need to ensure the surface is as flat as possible. If you have a lumpy surface you will have an uneven spread of epoxy when you install it.
You can mechanically grind the surface with a concrete grinder to get it as flat and level as possible. Again, clean the area once this is done.
Step 8. Porosity Test
This step is to test how porous your concrete is. Epoxy needs a porous surface to establish a strong mechanical bond with. The pores will allow the epoxy to sink deep into the concrete floor and anchoring itself as it cures.
Sprinkle some water onto your concrete floor. If the concrete is porous the water should sink in quite quickly. If you have recently acid-etched your concrete then wait 72 hours before performing this test.
If your concrete is not porous, then try the acid-etching or grinding steps again.
Step 9. Moisture Test
This is to test to see if there are moisture issues in your garage that will impact the installation of your floor. You will need some squares of plastic sheet and some ducttape.
Lay down the squares of plastic sheeting at various locations around your garage. Tape and seal them to the floor with duct tape, making sure there are no gaps at the edges. Leave the sheets for up to 48 hours.
After 48 hours, if there is condensation or moisture on the plastic sheets, this means there is excessive moisture in the concrete, and this could pose problems. You may need to utilise a dehumidifier before going on to the laying of epoxy.
If there is no moisture it means the concrete is dry enough to begin with the epoxy or the painting.
Step 10. Tape the Walls
Using painters tape, you want to mask the walls at the base where they meet the floor. This is to stop epoxy or paint from staining the walls and will give you a nice sharp edge in the corners.
Step 11. One Last Vacuum
You can never vacuum enough. You want the cleanest and most dirt-free floor you can get before you epoxy. Once you’ve completed these 11 steps, then you have prepared your floor to be made new, with a fresh coat of paint, or some flake flooring.
It takes a bit of preparation to get to this stage, but the more work you do beforehand, the better the final product will look and the happier you will be with the result.
Remember that the drier the concrete the better the result will be. Moisture can create bubbles and unsightly lumps in your new floor, so get it as dry as possible before you start.
Australian Slate-Crete supplies concrete sealers, painting supplies, pressure washing solutions, and spray on paving for durable, professional surface finishes.
If you’ve just laid new concrete for the garage and you wanted to paint it or lay an epoxy floor, you need to let the new concrete settle for at least 30 days before you start on step 1.
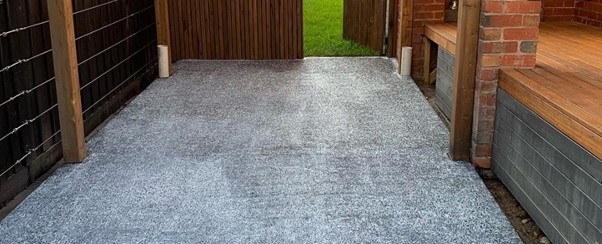
A shiny new floor for your garage can really lift it up, turn it from a dark place to keep your car, to an exciting room, encouraging you to create a display, or convert your garage into a workshop. Epoxy floors are super easy to clean and maintain, making working on your beloved motor that much more enjoyable.
The team here at Australian Slate-crete Supplies have all the tools and gear you need to prepare your flooring for its next stage in life.
-
 February 4, 2022Sandstone Concrete Stencil
Do you want to add a touch of luxury and elegance to your concrete projects? If so, then consider using sandstone concrete stencils!
Read More -
 February 4, 2022Gloss Brick Sealer
Gloss brick sealer is a wonderful material for adding a brilliant shine to your brick slip wall feature.
Read More -
 February 4, 2022Bluestone Concrete Sealer
In a broad sense, the term “bluestone” is sometimes used to refer to a variety of stones. It’s a marketing term rather than a geological one.
Read More