


Concreting Step by Step: From Site Prep to Final Seal
 Slate Crete
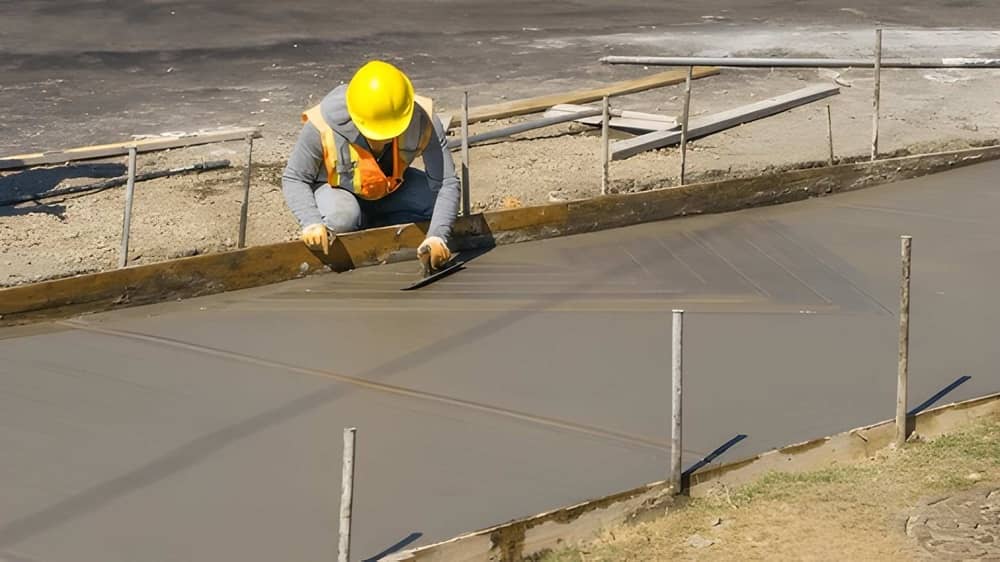
Getting a concreting job right is more than just pouring the concrete and hoping for the best. To achieve the best result, it needs to involve thorough site preparation and move through to the final coat of sealer. Skipping or rushing any of these steps will lead to a poor concrete foundation, which can lead to cracks and discolouration, and this can lead to expensive repair work sooner than you think.
This guide will walk you through the 7 steps of successful concreting, so you can end up with a concrete slab, or a garden path, or a driveway, that will last longer than the first big rains of winter.
We’ll point out where you need the right tools and supplies on hand that will make all the difference for a top concreting job.
Step 1: Site Preparation and Formwork
You always start the process of concreting with good site preparation. It is the most important part of the process because if you don’t prepare the site well, everything else won’t work well either. The foundations will slip, and the concrete can be set in odd shapes and thicknesses. Get this part right first, and the rest will follow suit.
- Clear the area thoroughly. Remove all grass, roots, rock and other debris from where you plan to pour the concrete slab.
- Dig to the correct depth of the slab you want. This depth is the thickness of the slab, plus the thickness of a base layer of crushed stone.
- Level and compact the area using a mechanical compactor, or hand tamper the ground so your concrete slab won’t sink at a later date.
- Once your dirt base is flat and compacted, spread a layer of crushed rock or gravel, around 100mm high. Compact this firmly as well to create a stable foundation to pour your concrete on to.
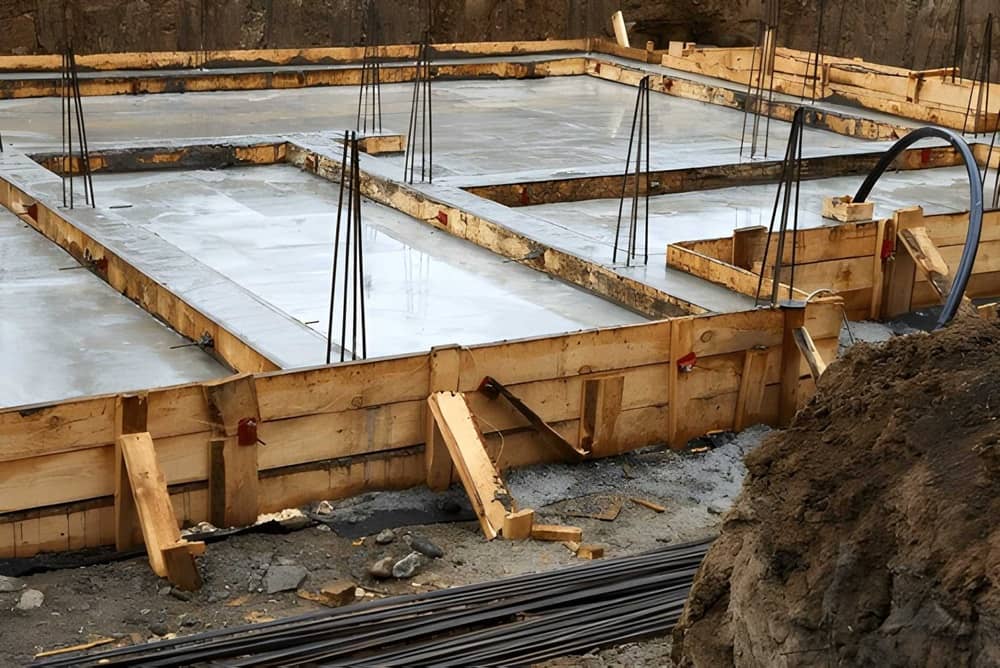
Formwork is the frame into which you pour the concrete. It ensures the concrete stays and sets in the shape you want, rather than overflowing everywhere.
- Use straight timber boards for your formwork, or steel panels. Anchor them with solid, wooden stakes.
- Set the height for your slab and mark this on the formwork. Use a spirit level and string to accurately have the same height all around the edges of where you intended to pour.
- Create a slight slope away from buildings. We recommend around 10mm per metre. This helps water drain off the surface of your concrete, rather than pool and stagnate, creating problems.
- Secure the boards by anchoring them with more stakes, hammered into the ground on the outside of the frame, every one to one and a half metres.
- Check the square, and the level using a spirit level and a set square. Plan now to avoid mistakes in the future.
Step 2: Choosing the Right Concrete Supplies
You need to choose the right concrete for the right job, and not all concreting jobs are created equal. Different concrete types are measured in MPa- Megapascals. This measures the compressive strength of cured concrete after 28 days.
| MPa RATING | Description |
| 20 MPa | Light-duty residential paths, garden edges and non-structural slabs. |
| 25 MPa | Standard grade cement. Standard house slabs and residential driveways. |
| 32 MPa to 40+ MPa | High-strength cement. Heavy vehicle driveways, public paths, commercial areas and structural footings. |
Selecting Mix Types
There are four different kinds of cement mixes that you can use for your work, from the small bag you can mix yourself to the big cement truck deliveries for the larger jobs.
- Standard Pre-mix Bags: Best for small DIY tasks like setting posts or small paths where you just add water.
- Rapid-Set Mixes: Hardens within 20 to 40 minutes; ideal for fast post-holes.
- Fibre-Reinforced Mixes: Includes microscopic synthetic fibres to improve tensile strength and reduce shrinkage cracking.
- Ready-Mix Truck Delivery: Essential for larger continuous pours like full patios or large driveways, ordered by cubic metres specifying exact MPa and slump.
Step 3: Mixing and Pouring
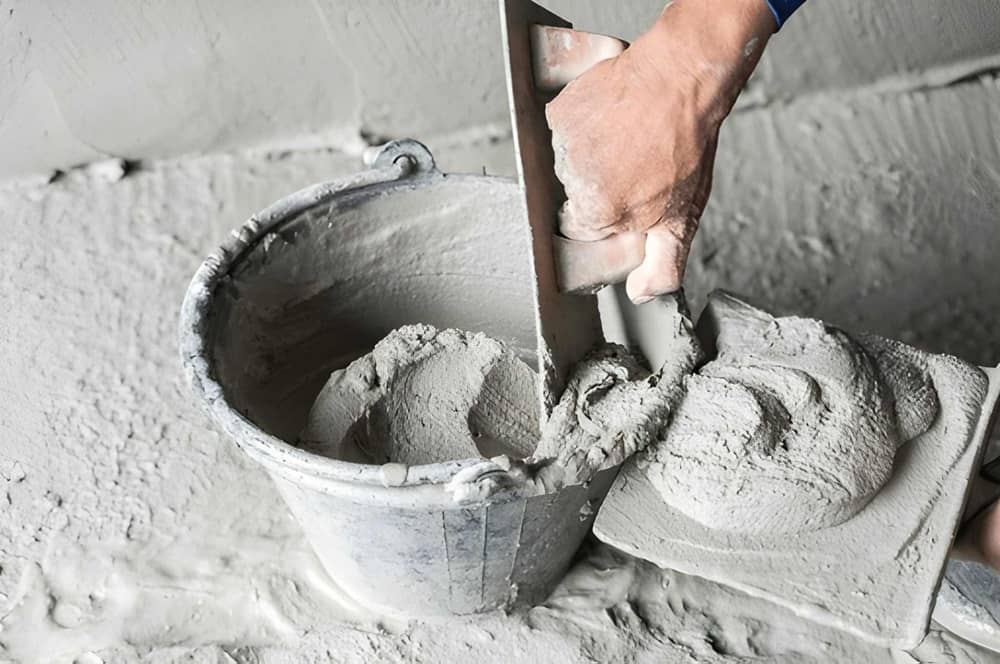
You need to commit to the mixing and pouring process. You can’t mix it and let it sit, as it will inevitably dry out and go hard. Also, if you mix too much water, or if you work in extremes of temperature, the cement may remain wet far longer than you intended.
Before you start, check the weather for the day. Extreme heat and sunny days will dry your mix quickly and will cause the surface to crack. Heavy rain will cause your mix to remain wet, and add more water to the mixture, which will also damage it going forward.
Have all your tools ready to go. You don’t want to leave your cement sitting there for a few minutes while you get your screed board.
Also check the ground you’ll be pouring onto. Make sure it is firm and has no standing puddles of water. You don’t want your mix to get added moisture after pouring and before sealing.
Mixing the Concrete
- Add water carefully: Pour most of the required clean water into the mixer first before adding the dry mix.
- Add the dry mix: Slowly add your bag mix or combined cement, sand, and gravel while the mixer spins.
- Check the consistency: The mix should look like thick oatmeal—not too runny and not too dry.
- Do the slump test: Grab a handful; it should hold its shape in a ball without crumbling or leaking excess water.
When pouring the concrete you need a plan. You don’t want to pour yourself into a corner and be trapped. While it is fine to walk through wet cement, it just adds more work to smooth it out afterwards.
Start in the corners. Pour directly into the corners and the deepest parts of your formwork first. Work continuously, pouring from one end of the form to the other, in sweeping strokes. You want to avoid ‘cold joints’, where your new cement meets a part that is partially set. This forms a weak seam that can be easily penetrated by water, or is a weak point that will shift and crack.
With a shovel or a rake, push, pull and rake the concrete into all the corners and spaces of the formwork. When you feel it is spread as evenly as possible, bang the sides of the formwork with a hammer or mallet. This helps release air bubbles, which are another source of weakness when dried.
Step 4: Finishing Techniques
There are three techniques to use when finishing off the concrete pour: Screeding, Floating and Edging.
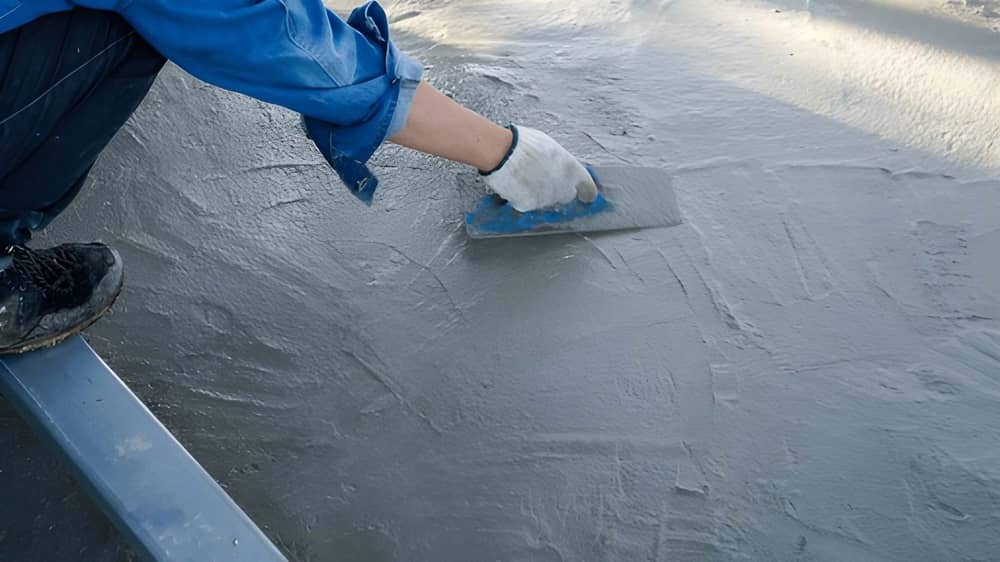
Screeding
Screeding, also known as Striking Off, is where you smooth the surface of the concrete by sweeping a metal board back and forth across the top. This metal board is known as the screed.
This part of the process helps to cut off extra concrete, and also helps fill in any gaps near the formwork you may have missed in the pouring. It levels your concrete pour out to the correct height.
Floating
Using a bull float on the large areas of concrete, or a hand float on the smaller areas, you sweep the float across the concrete, much like screeding. This process helps to push any coarse gravel down into the mix, and brings up smoother cement to the top.
Edging
The last step is to run an edging tool along the top of your wooden forms. This creates a nice, rounded edge for your concrete. Sharp edges tend to chip when they’re dry, so rounded edges prevent that. They also look more professional and cleaner to the observing eye.
Step 5: Curing the Concrete
Curing means you keep the surface damp and warm so it can reach its maximum strength to avoid cracking. Concrete hardens through a chemical reaction called hydration. This requires water and time, or the concrete will get weak and crack over time.
How Long to Cure
- Minimum time: Keep the concrete moist for at least 7 days.
- Full strength: Concrete takes 28 days to reach about 99% of its total strength.
- Foot traffic: Wait at least 24 to 48 hours before walking on new concrete.
- Vehicle traffic: Wait at least 7 to 10 days before driving a car on it.
Main Curing Methods
- Wet curing: Cover the concrete with wet burlap or hessian cloth. Put a sprinkler on it or hose it down several times a day to keep it soaked.
- Plastic sheeting: Lay clear plastic sheets over the damp concrete. Tape down the edges so the moisture stays trapped underneath.
- Liquid curing compound: Spray a chemical curing membrane over the fresh concrete. This liquid seals the moisture inside the slab.
Important Rules
- Start early: Begin curing as soon as the concrete is hard enough to touch without leaving a mark.
- Keep it steady: Do not let the concrete get wet then dry, then wet again. This thermal and moisture shock causes surface scaling.
- Watch the weather: Protect fresh concrete from freezing temperatures in winter and hot, windy sun in summer. Both conditions dry out the surface too fast.
Step 6: Selecting the Right Concrete Sealer
Applying the sealer to your concrete is the last step, but before then you need to know what type of sealer to use. Do you use a penetrating sealer or a film-forming sealer? Should it be water-based or solvent-based?
Main Types of Concrete Sealers
- Penetrating Sealers (Silane, Siloxane, Silicate):
- Absorbs deep into the concrete pores.
- Forms an invisible, breathable barrier against water and salt.
- Does not change the natural look or slip resistance of plain exterior concrete.
- Film-Forming/Topical Sealers (Acrylic, Epoxy, Polyurethane):
- Sits as a protective layer on top of the concrete.
- Intensifies the colour and offers sheens from matte to high-gloss.
- Ideal for decorative, stamped, or coloured concrete.
Water-Based vs. Solvent-Based Formulas
- Water-Based Sealers: Low odour, lower volatile organic compounds (VOCs), and easy to clean up with soap and water. They provide a subtle look and a satin or matte finish.
- Solvent-Based Sealers: Penetrates slightly deeper and has a strong chemical smell during application, but yields a rich ‘wet look’ gloss and heavy-duty durability.
Step 7: Applying the Final Seal
Once you’ve chosen the right sealant for your concrete, then it comes time to seal it. You seal cement to protect it from future water staining and the wear and tear that comes with age.
Wait for the concrete to cure for at least 28 days so there is no moisture left. Test the concrete by putting a few drops of water onto a small section. If the water soaks in, the concrete is ready. If it beads on the surface, the concrete is not cured enough yet.
If the water beads on the surface, then the next step is to prepare the concrete. Sweep it clean of any debris and wash the surface to remove any dirt and grit. Let the concrete dry, again, for at least 24 hours before sealing.
Applying the sealer is the last step. To apply, use either a roller or a low-pressure sprayer bottle. Roll or spray an even, thin coat, across the whole surface. Avoid doing the spray in patches, and avoid over-spraying and causing puddles.
Once that coat has dried, apply a second coat, perpendicular to the first coat. Again, avoid over-spraying and causing puddles. Avoid foot traffic for around 48 hours
Common Mistakes to Avoid
There are some common mistakes that people make when applying cement. Address each of these, and check on your own cement slab, to ensure the best pour and set possible.
- Adding Too Much Water: Water makes the mix easy to pour, but it weakens the final concrete and causes cracks.
- Skipping Sub-Base Compacting: Loose soil underneath will shift, causing the slab to sink and break apart.
- Rushing the Cure: Letting the concrete dry out too fast stops the chemical hardening process; keep it wet or covered.
- Ignoring the Slope: A flat slab traps puddles of water near your house or walking paths.
- Failing to Reinforce: Omitting steel mesh leaves the concrete vulnerable to splitting under weight or ground movement.
Getting It Right, From the Ground Up
Good concrete doesn’t happen by accident. It’s the sum of seven jobs done properly, one after the other. Skip the compaction, rush the cure, or slap on a sealer before the slab’s ready, and you’re setting yourself up for cracks, staining, and repairs you didn’t need to pay for. Get each step right instead, and you’re left with a slab, path, or driveway that shrugs off wet Melbourne winters and holds its colour and strength for decades.
If you’re at the sealing stage and want it done right the first time, Australian Slate-Crete Supplies can help you choose between a penetrating or film-forming sealer, and a water-based or solvent-based formula, based on what your job actually needs. Visit our Epping showroom or get in touch for advice suited to your slab.
-
 February 4, 2022Sandstone Concrete Stencil
Do you want to add a touch of luxury and elegance to your concrete projects? If so, then consider using sandstone concrete stencils!
Read More -
 February 4, 2022Gloss Brick Sealer
Gloss brick sealer is a wonderful material for adding a brilliant shine to your brick slip wall feature.
Read More -
 February 4, 2022Bluestone Concrete Sealer
In a broad sense, the term “bluestone” is sometimes used to refer to a variety of stones. It’s a marketing term rather than a geological one.
Read More