
Transform Your Boring Concrete with Concrete Stencils!
Over time, even the most well cared for concrete can become worn or discoloured. Even if it’s still in good condition, you might be tired of your plain concrete floors, driveway or patio. With concrete stencils, there’s no need to lay brand new concrete.
Concrete stencils allow you to completely transform your boring concrete with decorative finishes that will be the envy of your neighbours. Whether you have a commercial property or are undertaking construction projects at home, concrete stencilling supplies will make the entire process simple.
Keep reading to find out more about what stencils are, the benefits of using them, the range of stencils on offer and a quick guide to applying concrete stencils yourself.
What are Concrete Stencils?
Concrete stencils, unlike their paper counterparts, aren’t as simple but they’re just as versatile. They are essentially robust templates, often made of heavy-duty paper, designed to hold up to the thick concrete being applied. These stencils are laid onto concrete floors or other surfaces to help you add a range of designs and patterns, turning old and worn surfaces into new and beautiful spaces without the expense.
Originating in the 1980s, these stencils were initially used to add a touch of creativity to the drab concrete driveways and patios. Fast forward to today, they’ve become a popular tool for decorative concrete creations. The beauty of concrete stencils lies in their adaptability. From simple geometric shapes to intricate decorative patterns, there is a stencil to suit every taste and style.
The Perks of Picking Concrete Stencils
Want to replace your existing concrete surfaces? As a cost effective option, concrete stencils won’t break the bank, so you can put your money into a new landscaping project. A game-changer in the world of home improvement, they offer a range of advantages and are a popular pick for savvy homeowners and business owners.
Firstly, they’re a cost-effective solution. Replacing your existing concrete surfaces can be a real financial burden, but with concrete stencils, you’ll be able to save your money for landscaping or new outdoor furniture. They give you that fresh concrete look without breaking the bank.
They also provide an extremely durable result. Because the design is created with concrete, it is just as strong as the surrounding surface. Australia’s climate can be harsh, but with concrete stencils, your design will survive both pouring rain and blistering sun.
Versatility is another benefit. With a vast array of designs at your disposal, you’ll be spoilt for choice. Whether you’re after a simple geometric pattern or a more intricate design, there is one to match your vision.
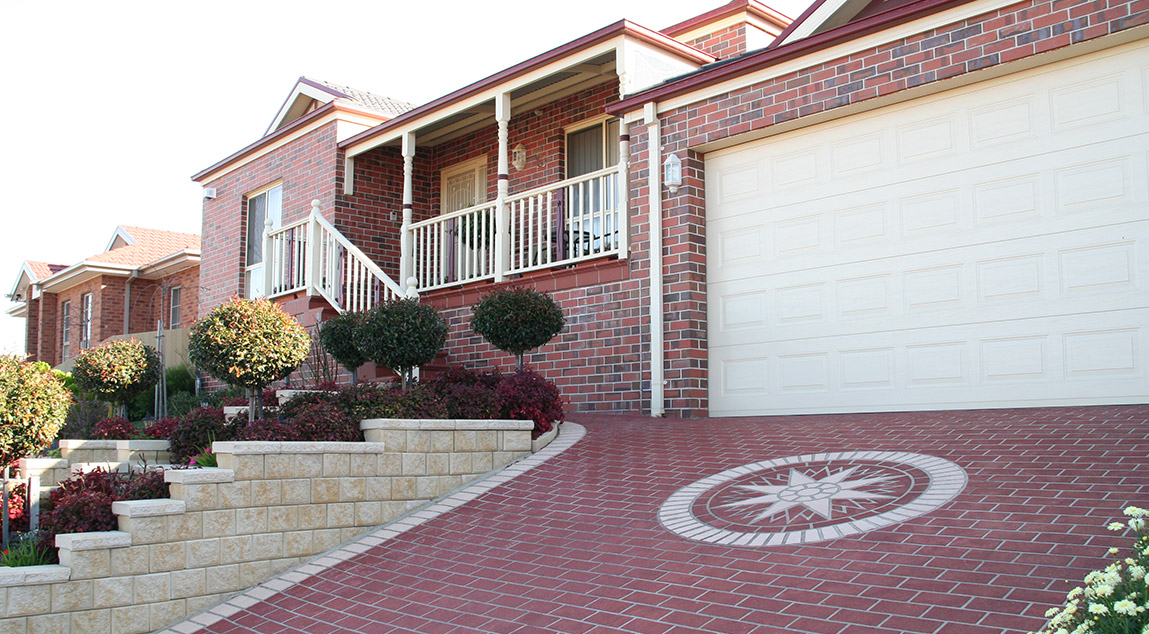
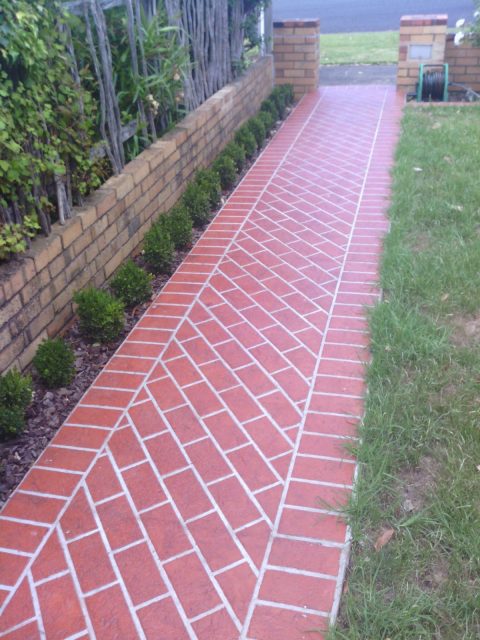
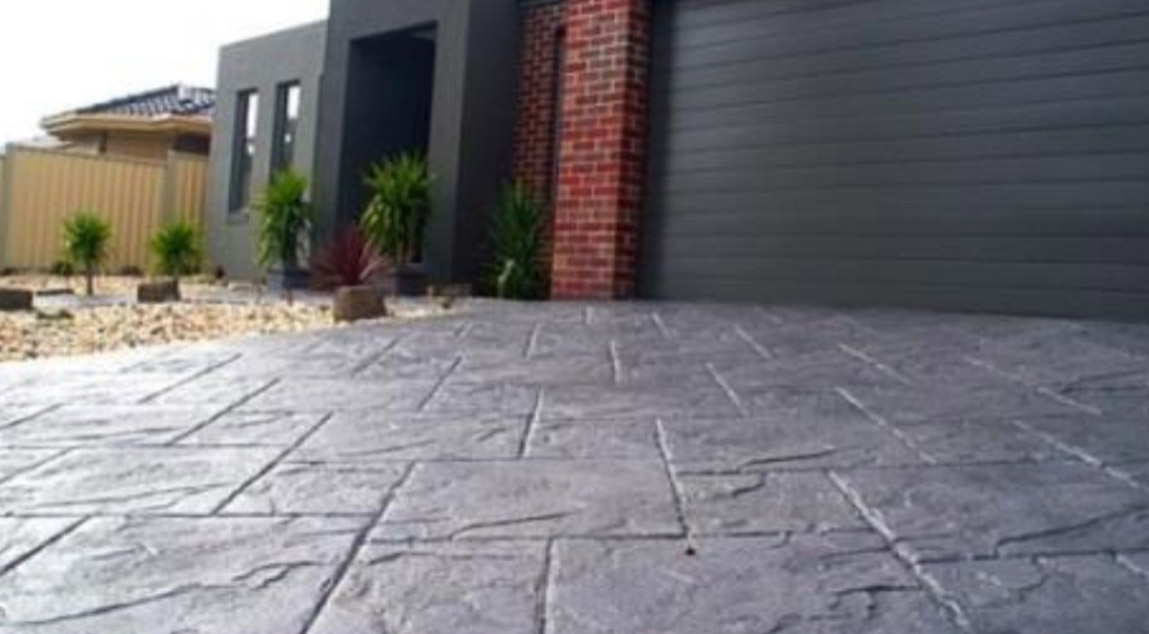
Wanting a herringbone brick pattern for your footpath or a cobblestone effect for your driveway? These designs can mimic high-end stone and brick patterns.With concrete stencils, you can achieve incredible looks quickly and easily.
The bottom line? If you’re after a cost-effective, durable, and versatile way to jazz up your concrete, you’d be hard-pressed to find a better option.
Concrete Stencil Shapes We Offer
Concrete stencils are now available in an impressive range, from simple geometric shapes to intricate decorative patterns. But what exactly sets one stencil apart from another?
Simple shapes like squares or circles are typically used to create a sleek, modern aesthetic. These designs can be used to bring a sense of order and symmetry to a space. On the other hand, more intricate patterns like floral motifs or ornamental designs can transform your concrete surfaces into a canvas of artistic expression.
Broad Area Designs
There are a number of different broad area stencil designs, useful for covering large areas such as driveways, patios and pathways. These come in a few categories, with classic designs like running bond, straight tiles in various sizes, basket weave and ashlar slate stencils, or more organic lines in cobblestone and convict rock.
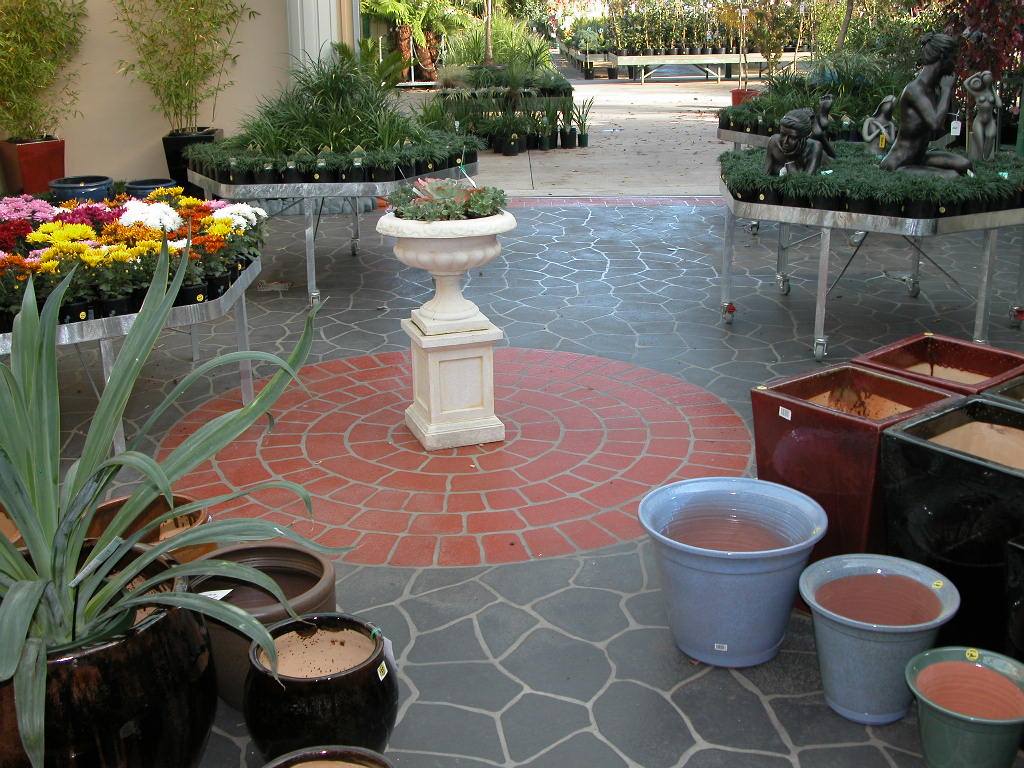
For a more free-flowing design with added visual interest, choose designs like bush rock, octagon tile or fan patterns in both European and cobblestone varieties. While these are slightly more challenging to apply, the results are well worth the effort.
Border Designs
Once you have filled the majority of the space, border designs allow you to create a crisp, clean edge. There are stencils to match convict, cobble and bush rock designs, as well as tile and brick styles. These edge stencils will allow you to totally cover the concrete in your chosen pattern without the need to cut the larger stencils to size, saving you time and effort.
Rosettes + Custom Designs
Looking to take your stencilling project to the next level? Decorative rosettes will quickly make your patio or driveway look like a masterpiece. With brick and cobble rosettes, a diamond and even a star compass stencil, you can add some extra flair and draw peoples’ eyes to your newly stencilled space.
If you’re a company looking to incorporate your logo, or a homeowner wanting a custom design, this can be done. Many companies now offer custom cut stencils with whatever design you’re looking for.
Colour Options
With an extensive range of concrete colourants on the market, you’re no longer stuck with a drab grey colour. Coloured concrete hardener comes in a variety of shades, including yellow, brown, red and grey, and even a darker green. Choose the hue that best matches your brick, render or wood exteriors or fencing for a unique and cohesive look.
A Step-by-Step Guide to Applying Concrete Stencils
Applying stencils may seem challenging, but once you understand the process, it’s actually quite simple! Below we provide a step-by-step guide on how to get the best result.
Step 1: Clean Your Concrete Slab
Whether it is freshly laid or 10 years old, all concrete must be thoroughly cleaned before the stencils are applied. This is because any dirt, oil or existing sealer can cause your new layer to flake, chip or not adhere evenly.
For a light clean, you could use soapy water or hot water. However, to get the best possible result, we recommend using a little bit of extra elbow grease for a proper cleaning. Any concrete stains may show around your design and ruin that perfect final result you’re going for.
You’ll need concrete cleaning chemicals, power washers and scrub brushes, all of which work together to thoroughly clean and prepare the surface of your concrete, allowing for a proper connection between your existing concrete and the new layer. An additional note – freshly laid concrete should be left for at least 14 days to allow it to cure completely before any cleaning or stencil application is carried out.
Step 2: Choose Your Concrete Option
Before you apply your concrete, it’s important to know which option is best for your specific circumstances. If you have freshly laid concrete, colour hardener will allow you to quickly and easily create your desired result. If you have older concrete, spray-on-crete provides a rejuvenated surface that disguises any wear.
Depending on add-ins and the method of application, you can achieve finishes that are smoother or rougher, closer in appearance to natural stone.
Step 3: Apply Your Stencils
Once you’ve chosen your pattern and colour, it’s time to start laying down the stencils. Standard rolls come in 50 or 100 metres, allowing you to choose the right amount for your concrete patio, driveway or pathways.
If you have awkward spaces, you can trim the stencils to fit in curves or small areas. Otherwise, simply roll out the stencils! We have a few tips and tricks to make the process simple:
- Choose a windless day. This makes sure that your stencils won’t shift or blow around in the wind. You can also use heavy objects like bricks to secure the edges. Once you’ve begun spraying or applying the concrete, the stencil will stay in place.
- Take your time. The more time you take to line up your stencils, the better your end result will be. Don’t rush it, or you may have to repeat the process.
- Take measurements. Before you order, make sure to measure the outdoor spaces you intend to stencil. This ensures you’re ordering the perfect length of stencilling pattern you need and can complete your project in one go.
Step 4: Apply Your Concrete
Now is the time to apply your concrete! Whether you have a stencil brush, spray-on, or concrete hardener, the key is to apply a thinner, even coat to create an attractive, professional finish. This also reduces drying time, allowing you to complete your project quickly.
Step 5: Apply Sealant
Now that you’ve completed your project, you want it to stay looking great for years to come. We recommend applying a concrete sealer to protect the final result from rain, UV damage, and wear and tear.
You can add grit to your final sealant to create an anti-slip surface, or keep it glossy for a dramatic finish. Two coats of sealer is the ideal amount to provide an even, solid coat.
Solid Stencil Suppliers Across Melbourne
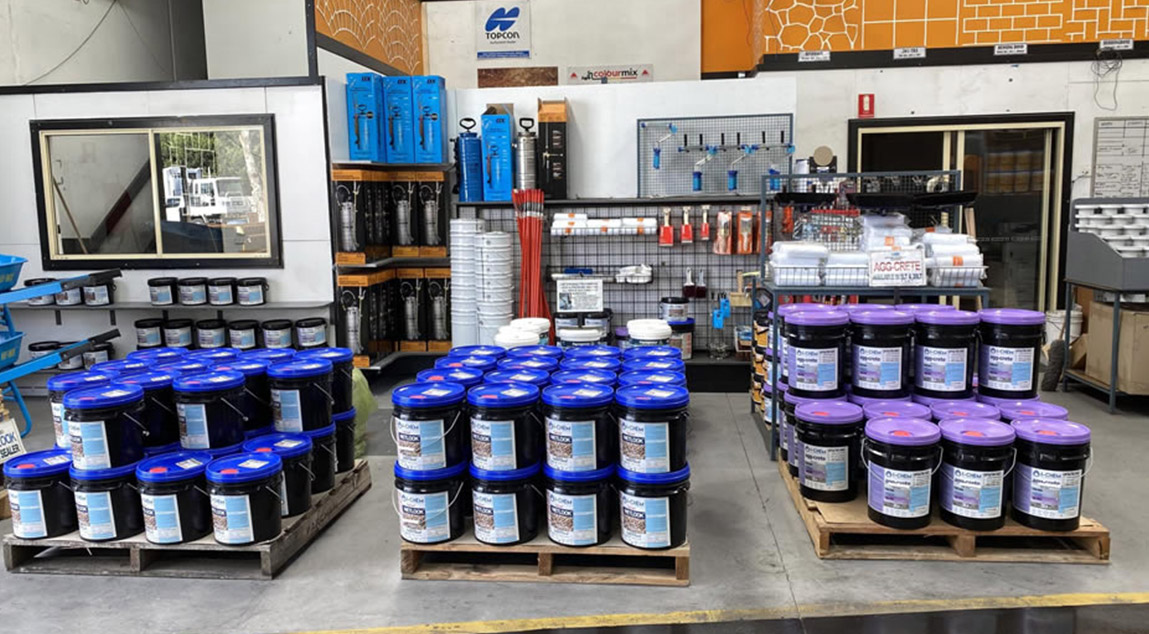
If you’re tired of your ordinary, dull concrete, there is no better solution than concrete stencilling. Australian Slate-Crete Supplies’ wide range of power tools, equipment, and supplies, hand tools, stencils, concrete sealers, colourants and application tools mean you can achieve professional results without the cost and hassle of working with tradespeople.
As the trusted concrete stencil suppliers in Melbourne, we are ready to assist with your project and answer any questions you may have. To find out more about concrete stencilling, contact us today!
Frequently Asked Questions:
While you could leave your concrete surface unsealed, we highly recommend applying sealer for a number of reasons. Sealer increases the structural integrity of your stencilled concrete, protects against weather and vehicular traffic wear and generally keeps your stencil patterns looking mint condition for years to come.
They may have similar appearances, but stamping needs to be done while the concrete is still wet and can be imprinted with the stamp. Stencilling can be done at a later point, making it a more versatile option.
-
 February 4, 2022Sandstone Concrete Stencil
Do you want to add a touch of luxury and elegance to your concrete projects? If so, then consider using sandstone concrete stencils!
Read More -
 February 4, 2022Gloss Brick Sealer
Gloss brick sealer is a wonderful material for adding a brilliant shine to your brick slip wall feature.
Read More -
 February 4, 2022Bluestone Concrete Sealer
In a broad sense, the term “bluestone” is sometimes used to refer to a variety of stones. It’s a marketing term rather than a geological one.
Read More