


Roller vs. Sprayer: What’s the Best Way to Apply Concrete Sealer?
 Slate Crete
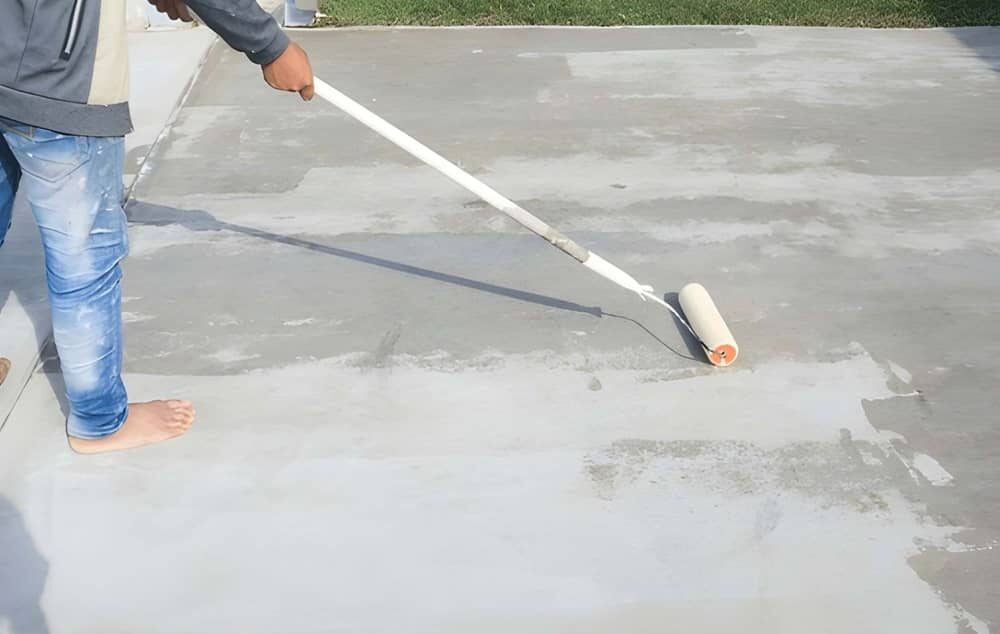
The type of sealer you choose for your concrete is only half the equation. How you apply it matters just as much. You could be sealing your drive or an exposed aggregate path, or you could be sealing a large, commercial slab of concrete. Either way, the application method of sealant can impact how well you get coverage and how long the finish will last.
The two most common ways to apply concrete sealer are with a roller or sprayer. Each method has its advantages and disadvantages. One works best on textured surfaces, and the other is better on larger surfaces.
In this article we’ll break down the pros and cons of each style of application, and which method works for different situations and kinds of concrete.
Applying Sealer with a Roller
Applying a sealant with a roller is good for smaller surfaces and great for working around the home as the costs are lower than with a spray. There is a danger that you might not get consistent coverage, but if you’re careful and take your time to do it right, a roller is perfect for DIY jobs around the home.
Step 1. Prepare the Surface
Pressure wash the surface, then use a light degreaser for garages or interior concrete, and an acid solution for outside surfaces including garages. Allow the concrete to dry before adding your sealer. You can test to see if the concrete is dry by taping a square of plastic over part of the concrete. If there is no condensation present after an hour or so, then your concrete is fully dry.
Step 2. Choose Your Roller
For smooth concrete, use a 4mm to 10mm nap roller and a microfiber applicator. This allows you to achieve an ultra-smooth, stipple-free finish.
If you’re sealing textured concrete, such as exposed aggregate, use a thicker roller- a 15mm to 20mm nap roller. The thicker pile is good for getting sealant into uneven concrete surfaces.
Before you start applying sealant, wrap masking tape around the roller, and then rip off to remove any loose lint.
Step 3. Applying the Sealer with a Roller
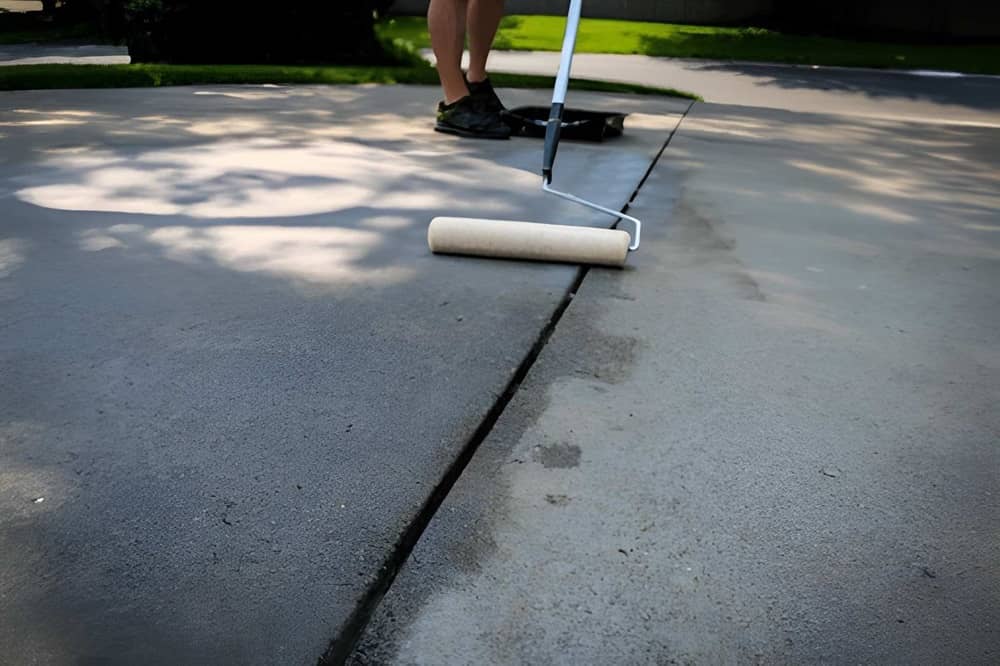
Start in the corners with an angled brush, as if you were painting. Cut in along the walls and edges so you don’t trap yourself. Never apply a thick coat of sealer; don’t pour out a lot of sealer and try to spread it with your roller. Two thin coats will always give a better result than one thick coat.
Using only small amounts of sealer in a roller tray, roll evenly up and down in a cross pattern. To avoid roller marks, finish your rolls by stroking away from you and then lifting the roller off the surface.
If you’ve put down too much sealer, use a dry roller to soak up the excess and spread the sealer evenly. Again, finish the rolling strokes by pushing away from you to get the best results.
Step 4. Drying and Second Coat
Allow the first coat at least 24 hours to dry, depending on the type of sealant you used. Once dry, you apply the second coat of sealer, perpendicular to the first coat. This means if you went left to right when applying the first coat, you now apply the second up and down.
Once you’ve applied the second coat, the concrete needs time to cure. Stay off it for at least 48 hours.
Applying Sealer with a Sprayer
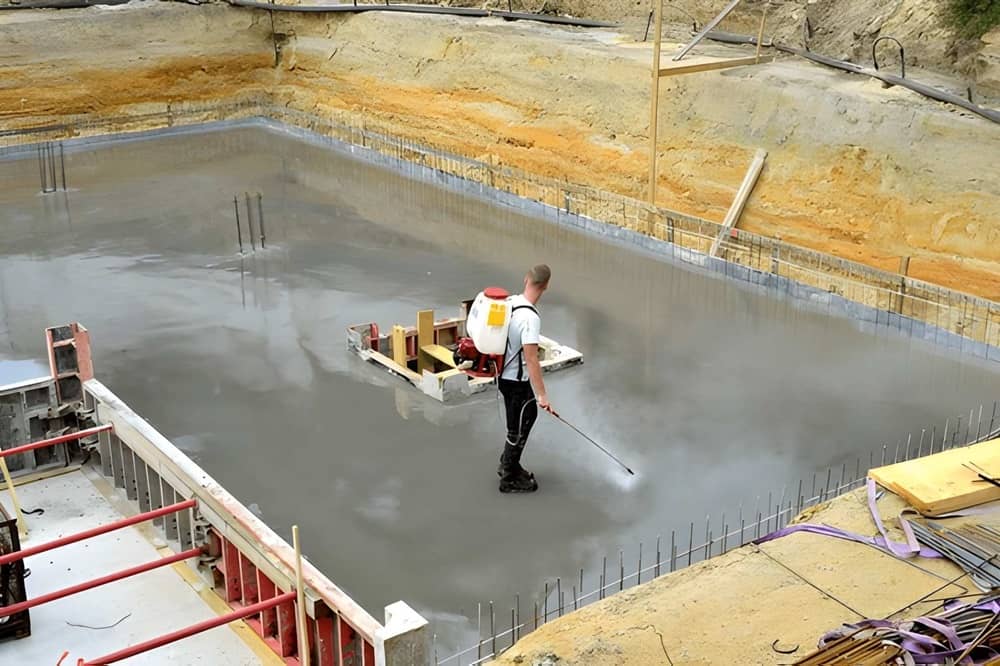
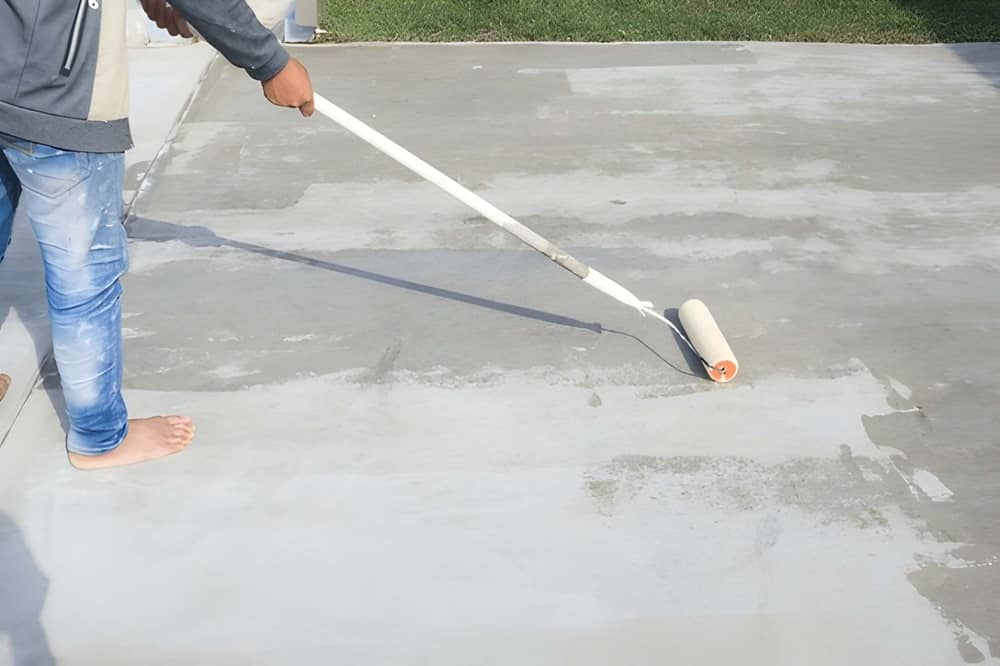
Arguably the best way to get a good, consistent coverage of sealer is with the spray-and-back-roll technique, where you spray down the sealer and then immediately use the roller to push the sealant into the corners and into the pores of the concrete for an even and professional look.
Step 1. Prepare the Concrete
Follow the same steps as above for preparing your concrete. Wash it, dry it and test it with a small square of plastic.
Step 2. Fill and Pressurise Your Sprayer
Pour your sealer into a pump-up sprayer or a battery-powered sprayer. When spraying, always spray multiple, thin coats, rather than one heavy coat. This prevents bubbling and peeling and an unattractive mix of thickness in sealant.
Step 3. Back-Roll Immediately
While the sprayed on sealer is still wet, use a roller, attached to a pole so you don’t walk on the sealer. Roll with consistent pressure to eliminate puddles and force the sealer into the concrete’s pores. Don’t put too much pressure on the roller. You don’t want it soaking up sealer.
Step 4. Dry and Apply Second Coat
Allow at least 24 hours for the first coat to dry before applying the second coat. Let the second coat cure for at least 48 hours before you walk on it.
Which Method Suits Which Job
What type of concrete are you trying to seal? Are you sealing a large area of smooth concrete in an industrial park, or resealing aggregate concrete in your back garden?
The Sprayer Method (Spray & Back-Roll)
This is best for penetrating sealers and for large areas, such as your industrial parks or commercial yards. For residential spaces, consider the pool deck or driveway.
It works on stamped or textured surfaces as the sprayer really gets into crevices. Then, the roll-back method brings out the excess liquid to prevent cloudy results.
The Roller method
The roller method, where sealer is poured into a tray and rolled onto the concrete, works well for smaller areas and for indoor applications, where spraying could lead to airborne mist. It’s also the better option for smaller jobs where renting a sprayer wouldn’t be financially viable.
Why You Should Choose Australian Slate-Crete Supplies
Whether you decide on a roller or a sprayer, having the right gear and the right concrete sealer makes all the difference to your finished result. At Australian Slate-Crete Supplies, you’ll find a comprehensive range of water-based and solvent-based sealers, along with the rollers and industrial concrete sprayers you need to apply them properly.
With over 30 years of experience supplying concrete sealers in Melbourne, you can count on advice that matches the application method to your job. Drop into our Epping showroom and our trade experts will talk you through which approach will give you the best results for your specific surface and sealer type.
Need help deciding between a roller and a sprayer for your next project? Get in touch with the team at Australian Slate-Crete Supplies today, or browse our full range of concrete sealer supplies online.
-
 February 4, 2022Sandstone Concrete Stencil
Do you want to add a touch of luxury and elegance to your concrete projects? If so, then consider using sandstone concrete stencils!
Read More -
 February 4, 2022Gloss Brick Sealer
Gloss brick sealer is a wonderful material for adding a brilliant shine to your brick slip wall feature.
Read More -
 February 4, 2022Bluestone Concrete Sealer
In a broad sense, the term “bluestone” is sometimes used to refer to a variety of stones. It’s a marketing term rather than a geological one.
Read More